“The Easiest Cut Crease Ever”
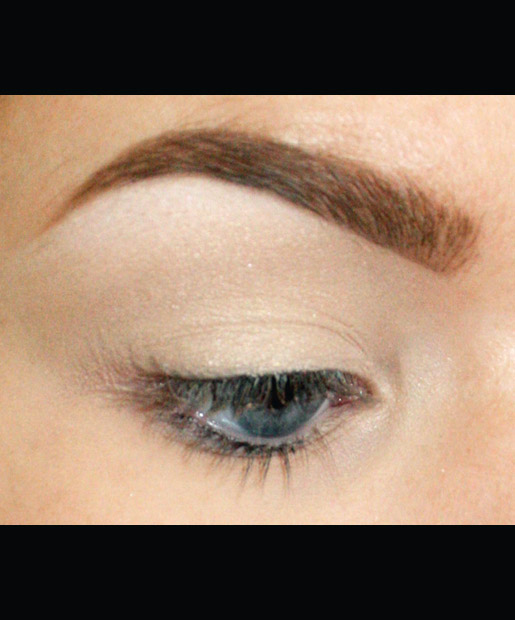
Before starting this eye makeup look, take heed. Bat a Lash Beauty blogger Samantha Ravndahl calls this the “easiest cut crease ever”, but also warns the look may take a few tries if you’ve never attempted it. “Patience is key,” she says. To start the look, apply an eye primer to the entire lid. Next, apply a base shadow like MAC Pro Longwear Paint Pot in Bare Study to the lid, and use a white highlight like MAC Eye Shadow in Gesso on the brow bone and inner corners of your eye.
Start Sketching
Use any eyeliner you like to sketch a V-shape starting from the crease in the middle of your eye and connecting to the outer corner of your eye. “Make the line thicker toward the outer corner and use less pressure toward the inner corner, to make the liner thinner and lighter.”
It’s Okay. You Can Start Over.
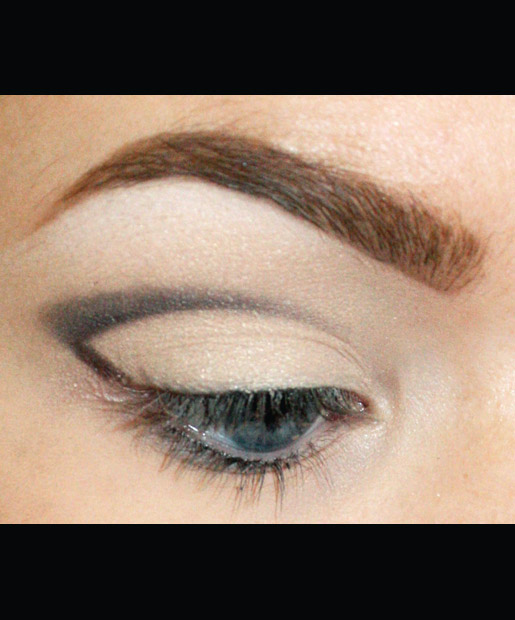
When your cut crease is drawn in, it should look something like this. No judgment here if you need to grab the makeup remover.
Blur It Out
Next, use an eye shader brush like MAC 239 to blend your eyeliner out toward the outer corner of your eye. If you can, try to keep the bottom of your cut crease a sharp line.
Add Some Color
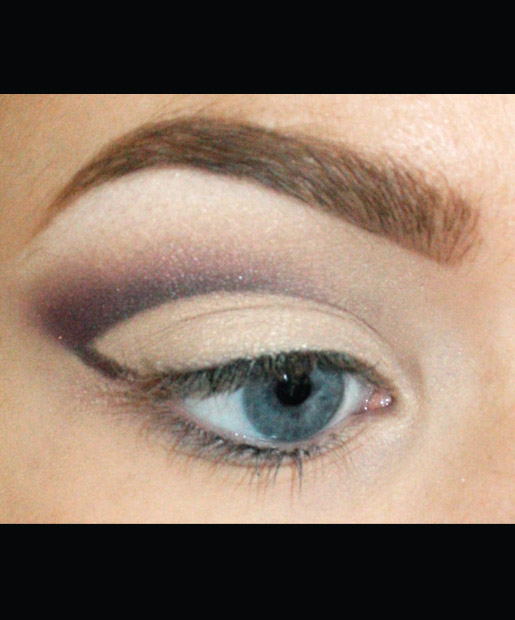
Using the top line of your eyeliner as a guide, apply any eye shadow you’d like over the line and slightly above it, blending in toward the inner corner of your eye. You can also clean up any mistakes along the way with your white eyeshadow.
Flair For The Dramatic
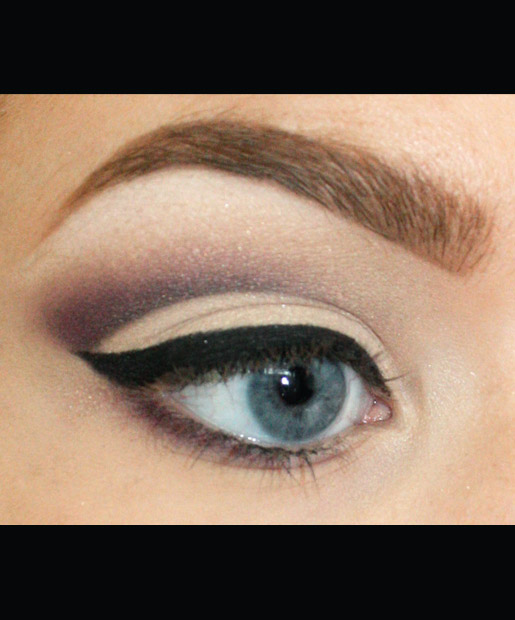
Wing out your eyeliner for added drama. (This step is optional, but almost too gorgeous to skip.)
Finishing Touch
Run the same eye shadow you used on your eyelids (or an eyeliner in a corresponding color) along your lower lashline for another subtle pop of color.
The Final Look
Ravndahl’s false lashes (NYX Lashes in EL107 and NYX Half Lashes) finish off the cut crease eye makeup look.
Credit: Bat a Lash Beauty


